Table of contents
- Introduction
- Tool selection
- Flooring selection and shopping tips
- Subfloor preparation
- Step-by-step installation
- Avoiding mistakes and troubleshooting
- Care and Maintenance
- Conclusion
Taking the art of flooring installation into your own hands can not only be fun but also save real money. With the right saving tips and tricks, you can beautify your home without spending a fortune. This guide shows you how to successfully and cost-effectively carry out your DIY flooring installation.
1. Introduction
The joy of DIY
DIY is trending. There is nothing more satisfying than completing a home improvement project and admiring the result. Flooring installation is such a project you can take on yourself to save money.
2. The right tool selection
Must-have tools for flooring installation
Choosing the right tools is crucial for a successful and cost-effective project. Make sure you have or can cheaply acquire tools like a tape measure, a saw, a rubber mallet, a utility knife, and a level.
Rental vs. purchase options
Consider whether you want to rent or buy tools. For occasional projects, renting can be more economical, while buying makes sense in the long term and allows investment in future projects.
3. Flooring selection and shopping tips
Select the appropriate flooring
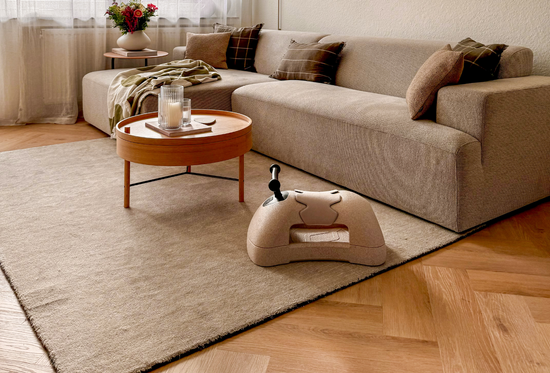
Choose a flooring that not only matches your taste but also meets your requirements. Laminate, vinyl, and carpet are often more affordable options compared to parquet or natural stone.
4. Preparing the subfloor
Remove and prepare the old floor
Avoid additional costs by removing the old floor yourself and preparing the subfloor on your own. This requires time and effort but saves money.
Prepare and level the subfloor
Careful preparation of the subfloor is crucial. Eliminate unevenness and use affordable leveling compounds to create a smooth surface.
5. Step-by-step installation
Practical tips for proper installation
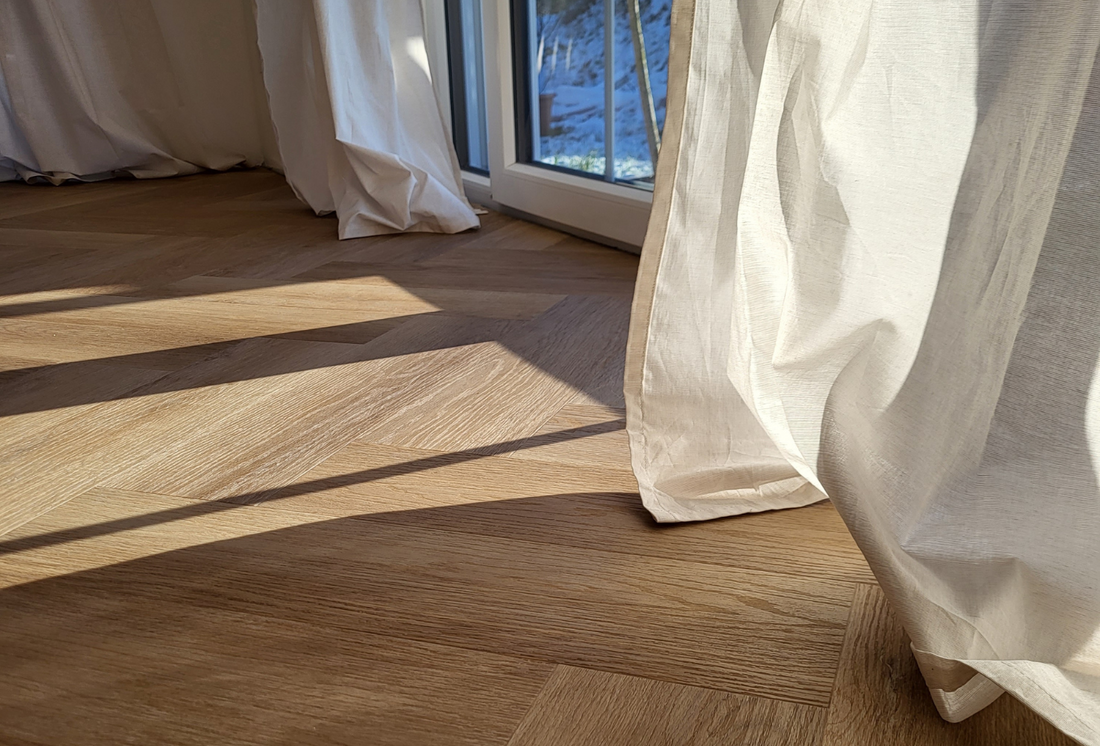
Work methodically and carefully to minimize waste and unnecessary costs. Pay attention to the correct laying pattern and orientation to avoid material waste.
Adjusting patterns and designs
Creativity plays a role, but remember that more complex patterns require more material. Saving material means saving money.
6. Avoiding mistakes and troubleshooting
Common mistakes and how to avoid them
Avoiding mistakes is a major cost factor. Learn about common errors and how to prevent them to avoid expensive corrections.
Immediate measures in case of problems
Problems can occur, but quick action can prevent worse damage. If you notice mistakes, correct them immediately to minimize further expenses.
7. Care and maintenance
Extending the lifespan of the floor
Proper care and regular cleaning are crucial to preserve the beauty and durability of your flooring. Maintenance saves costs in the long run.
Tips for easy cleaning and maintenance
Learn how to properly clean your flooring to avoid costly replacement expenses. Cost-effective cleaning agents are often sufficient.
8. Conclusion
Homemade beauty and savings
DIY flooring installation not only offers the joy of doing it yourself but also significant savings. Use these savings for other DIY projects or reward yourself for your successful and cost-effective flooring installation.