Table of contents
- Introduction
- Subfloor preparation
- Choosing the right click vinyl
- Step-by-step installation guide
- Care and maintenance of click vinyl flooring
- Conclusion
You're renovating your bathroom and unsure which flooring is right? Click vinyl is a popular choice for wet rooms thanks to its water resistance, durability, and easy installation. In this comprehensive guide, we show you how to install click vinyl flooring like a pro and avoid the most common mistakes.
Subfloor preparation
Before you start, careful preparation of the subfloor is essential. Here are the steps you should not skip:
- Cleaning: The floor must be free of dirt and dust. A thorough cleaning is the first step to a smooth subfloor for your new flooring.
- Acclimatization: Let the vinyl sit in the room for at least 24 hours so it can adjust to the room climate. This prevents later deformations caused by temperature fluctuations.
- Measurement and planning: Measure the room precisely and plan the layout of your flooring. This helps reduce waste and ensures you have enough material on hand.
The right choice of click vinyl
Not all click vinyl floors are the same. Here are some points to consider when choosing the right product for your bathroom:
- Water resistance: Make sure the product is explicitly designed for wet rooms.
- Slip resistance: Products with a high slip resistance rating are especially important if you have children or elderly people in the household.
- Quality and durability: Rely on our specially designed products that are optimally suited for the demands of bathrooms.
Here you can find our waterproof flooring for wet rooms.
Installation step by step
Installing click vinyl requires precision and patience. Here is a guide that takes you through each step:
- Start with the first row: The first row lays the foundation for the entire floor. Make sure to align the planks precisely and keep a gap of at least 5 mm from the wall.
- Joining planks: Use the click system to snap the planks together. Sometimes you need a rubber mallet to ensure the joints are tight.
- Measuring and cutting: Measure the space for the last plank in each row and cut the planks accordingly. A sharp blade and a stable surface are essential for precise cuts.
- Perform final inspection: Check each row to ensure all planks are firmly seated and there are no gaps.
Care and maintenance
To keep your click vinyl flooring beautiful and functional, regular care is necessary. Here are some tips:
- Regular cleaning: Use a soft broom or vacuum cleaner to remove dirt and debris. For wet cleaning, only use cleaning agents recommended by the manufacturer.
- Avoid strong chemicals: Aggressive cleaning agents can damage the surface of your floor. Choose mild cleaners and follow the manufacturer's instructions.
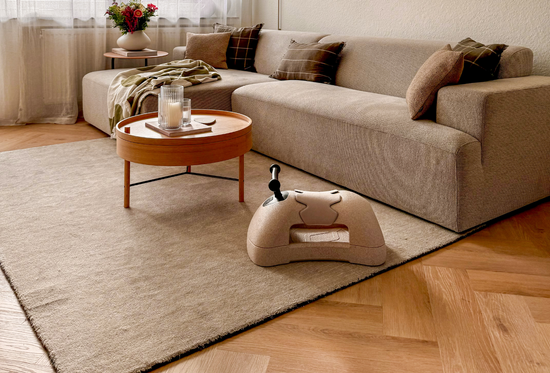
- Floor protection: Use rugs and mats in high-traffic areas to protect the floor from excessive wear.
Conclusion
Click vinyl is an excellent choice for bathrooms and other wet rooms. With the right preparation, installation, and care, you can enjoy a floor covering that is both attractive and practical. Don't forget to always follow the manufacturer's instructions and seek professional help if in doubt.